
There is no such thing as a square corner in an older house. The moment you hold a length of wallpaper against the wall beside a chimney breast, or into the recess next to a sash window, the truth shows up: the walls lean, the plaster bulges, and the corner you measured at the top is a good 20mm out by the skirting.
That is no reason to abandon pattern. Corners and alcoves simply ask for a different sequence from the one you use on a flat wall — and a little more patience with the knife.
Two things work against you. Most papers expand slightly when pasted and shrink back as they dry, so a joint pushed hard into the angle of a corner will open into a thin dark line within a day. Corners are also rarely straight, and a wavy edge cannot be trimmed neatly to fit a wavy corner.
The answer in both cases is to stop trying to finish a length in the corner. Wrap the paper around it instead, and hide the join a short distance away on a flat surface where you can cut it cleanly. Paste-the-wall papers make this far easier, because nothing swells between the pasting table and the wall and you can lift and reposition a wrap without stretching it.
There is also the question of light. A corner catches light from two directions at once, so any ridge, overlap or lifted edge becomes a tiny shadow line. In an alcove, where side walls meet the back wall at close quarters, that effect is doubled. You are not just hiding a join; you are persuading the eye that the wall turns in one clean plane.
Ten minutes with a pencil saves an afternoon of frustration. Before you paste anything:
Write these measurements on the wall in pencil, not on a scrap of paper that will vanish under a dust sheet. Mark the wrap allowance at the top, middle and bottom of the corner. If the three marks do not line up, trust the smallest one and trim the rest — the paper has to fit the room, not the drawing.
This is the workhorse technique for both internal corners and chimney breasts. It works because the visible join sits on a flat wall, not in the angle.
If the corner is more than 15mm out of plumb, do not try to wrap a full width around it. Cut the length down to the corner, then start a fresh length on the other side, using the pattern match to disguise the join. A deliberately placed join on a flat wall always looks better than a stretched one in an angle.
Alcoves are corners multiplied. A typical chimney breast gives you two internal corners, two external corners and a recess on either side, all within a few feet. The temptation is to paper the whole wall in one heroic run. Resist it.
Treat the chimney breast as its own panel. Start in the centre of the breast and work outwards, wrapping the paper around each external corner by 25mm. Then paper the alcove walls, running the paper into the internal corner and wrapping it onto the back wall of the recess. Finally, paper the back wall itself, overlapping and double-cutting as before. This sequence keeps the most visible surface — the chimney breast — perfectly centred, and pushes the joins into the quieter shadows of the alcove.
An external corner, such as the side of a chimney breast, takes more knocks than any other part of the wall. Wrapping a thin 25mm return around it is usually enough, but if the corner is rounded or damaged, consider a corner bead or a decorative trim. Do not wrap a full width around an external corner: the paper will bridge the angle, and the first hoover bump will lift it.
If the alcove is fitted with shelves, paper the back wall first, then the sides, then the underside of the shelves if they are fixed. For adjustable shelving, remove the brackets and paper behind them, cutting small slits for the uprights and sealing them with a little paste. A dark alcove lined in a busy pattern can feel claustrophobic; a subtle stripe or a plain paper with texture will make the recess read as part of the room.
Turn off the power at the consumer unit before you work near sockets. Loosen the faceplate, hang the paper over it, and make a small diagonal cut from corner to corner of the socket. Fold the triangles back, trim them neatly around the box, and refit the faceplate. For radiators, it is easier to remove the radiator entirely if you can; if not, paper down to the brackets, cut a neat slit, and tuck the paper behind. Pipes should be papered up to the collar, then cut with a small circular allowance and smoothed tight.
Do not cut around obstacles with the paper dry and then paste it. The paper will grow, and your neat hole will become a ragged one. Paste, hang, smooth, then cut in situ with a fresh blade.
The first hour after hanging is when most corners fail. As the paper dries, it pulls back from the angle. Check the wrap every twenty minutes or so, and if a gap opens, press it back gently with a clean seam roller or a damp sponge. Never add more paste on top of a drying seam; it will stain the paper and leave a shiny ridge.
Keep the room at a steady temperature. A cold room slows drying and encourages mould; a hot room with the heating full blast dries the paper too fast and opens every joint. Close the door, keep children and pets out, and wait until the paper is completely dry before you judge the pattern match. Some papers look slightly darker when wet, and a seam that seems obvious at first can disappear by morning.
Awkward corners are not a test of strength. They are a test of sequence. Measure the worst point, wrap the paper rather than finish it in the angle, hide the join on a flat surface, and cut with a blade you would be proud to use in the kitchen. Do that, and the alcove that looked like a problem will simply look like a room.
Photo: Pix-Off / Pixabay
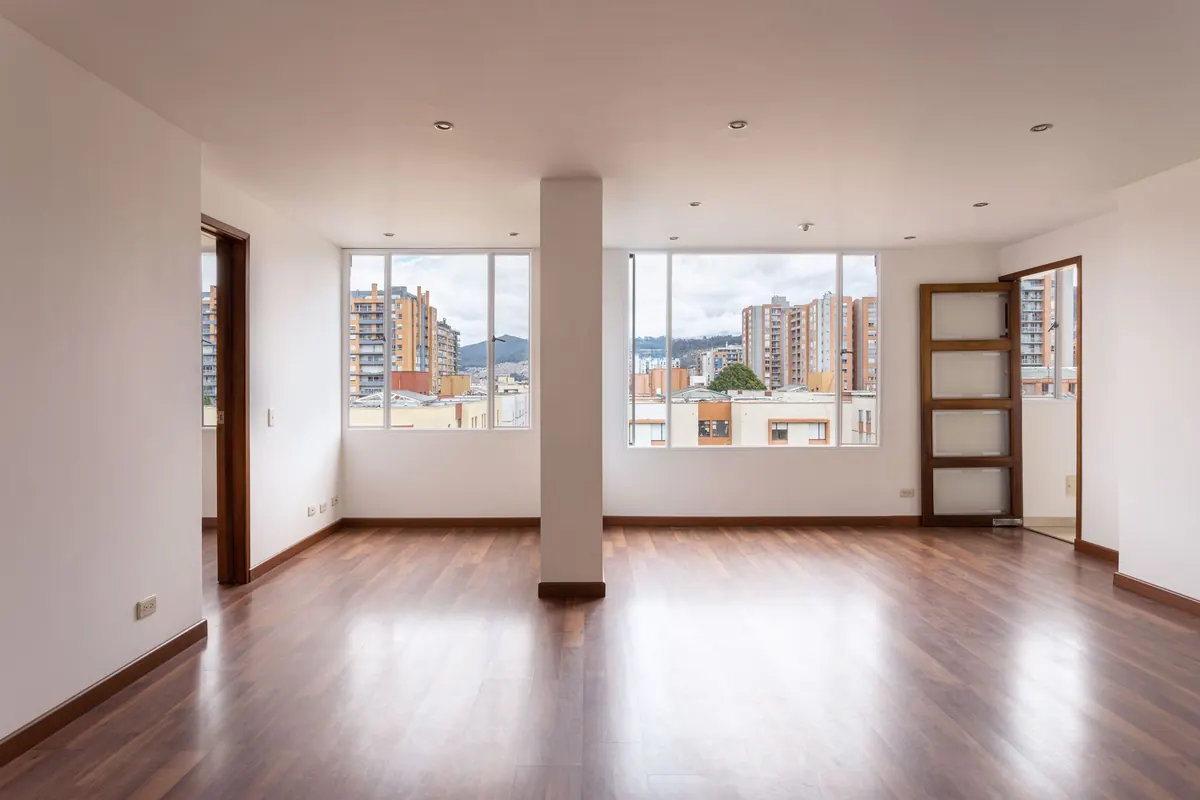
How to give a rental flat real style using removable wallpaper, freestanding furniture and plug-in lighting — plus...
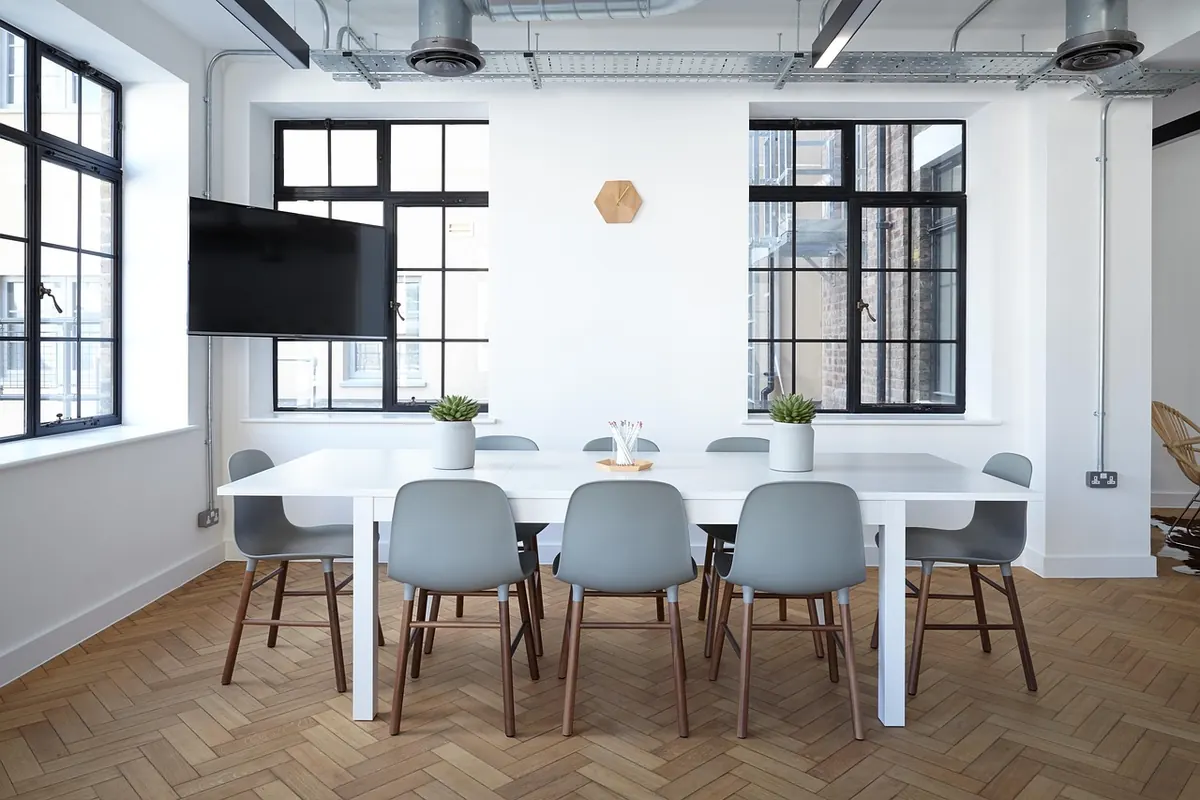
Cool, grey north light can leave a room feeling flat. Here is how colour, layered lighting, mirrors and warm...
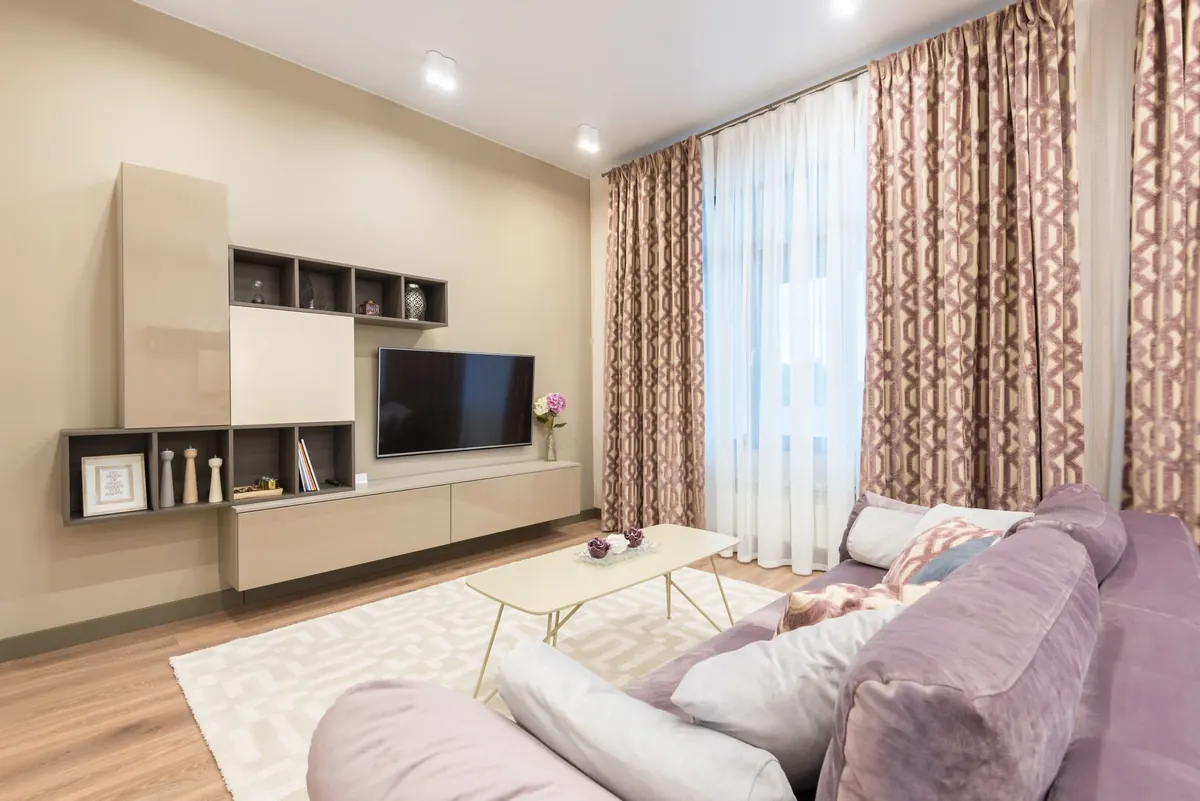
The common layout mistakes that shrink compact UK lounges, from wall-hugging sofas to undersized rugs, and the...

Curated motifs and decor for every home.